
Tutorial: Custom SOAR Action
Build a Foundry app that connects to an external API, exposes its operations as custom SOAR actions, and uses them in Fusion SOAR workflows. This tutorial demonstrates importing an OpenAPI spec, configuring autocomplete for workflow builders, and ingesting results into LogScale.
What you’ll build
Section titled “What you’ll build”A Foundry app that:
- Imports an external API’s OpenAPI specification
- Exposes API operations as Fusion SOAR actions with autocomplete
- Creates a scheduled workflow that fetches data and writes it to LogScale
- Creates an on-demand workflow for ad-hoc operations
Prerequisites
Section titled “Prerequisites”- Falcon Foundry entitlement
- Falcon Administrator or Foundry App Developer role
- An OpenAPI/Swagger spec for the external API (JSON or YAML)
- API credentials for the external service
Step 1: Create the app
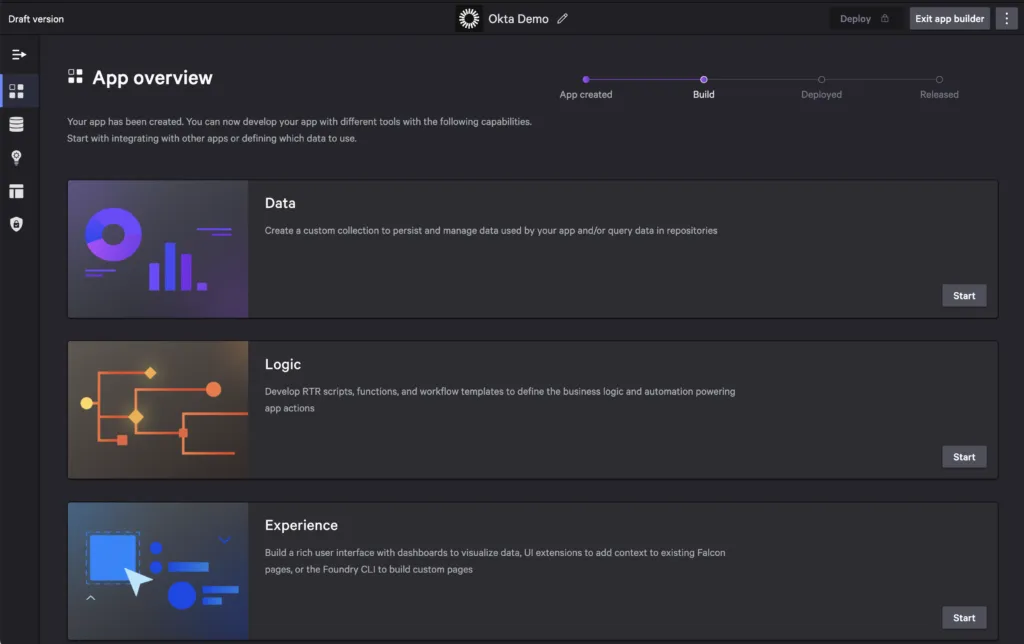
Section titled “Step 1: Create the app”- Go to Foundry > App manager.
- Click Create app > Start from scratch.
- Name the app and click Create.
Step 2: Import the API integration
Section titled “Step 2: Import the API integration”- In the App Builder, go to API integrations.
- Click Create integration.
- Select Import OpenAPI spec.
- Upload your OpenAPI JSON or YAML file.
- Review the auto-generated operations.
- Configure authentication (API key, OAuth 2.0, etc.).
- Test each operation against the live API.
Step 3: Configure autocomplete
Section titled “Step 3: Configure autocomplete”For each operation parameter that workflow builders will fill in:
- Open the operation’s advanced settings.
- Enable Autocomplete on the parameter.
- Choose the data source:
- Static list for fixed values
- Dynamic list referencing another operation
- Map the response fields to display label and value.
Step 4: Configure workflow share settings
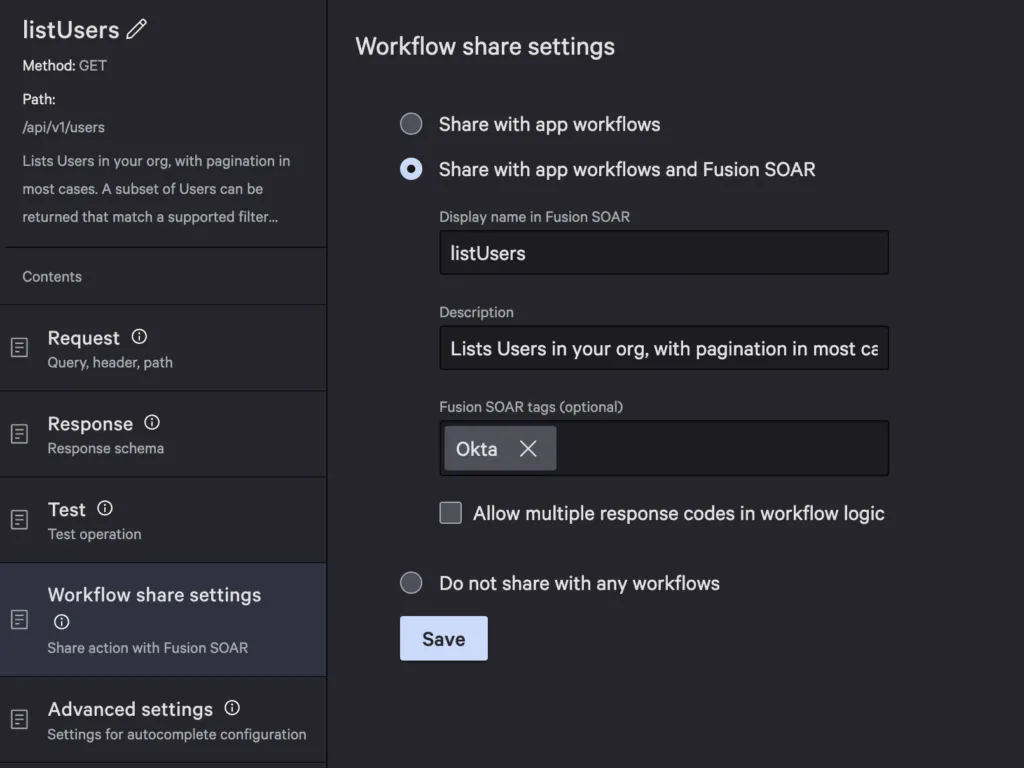
Section titled “Step 4: Configure workflow share settings”- In the App Builder, go to Workflow templates.
- Set Share settings to allow other users to use your custom SOAR actions in their workflows.
Step 5: Create a scheduled workflow
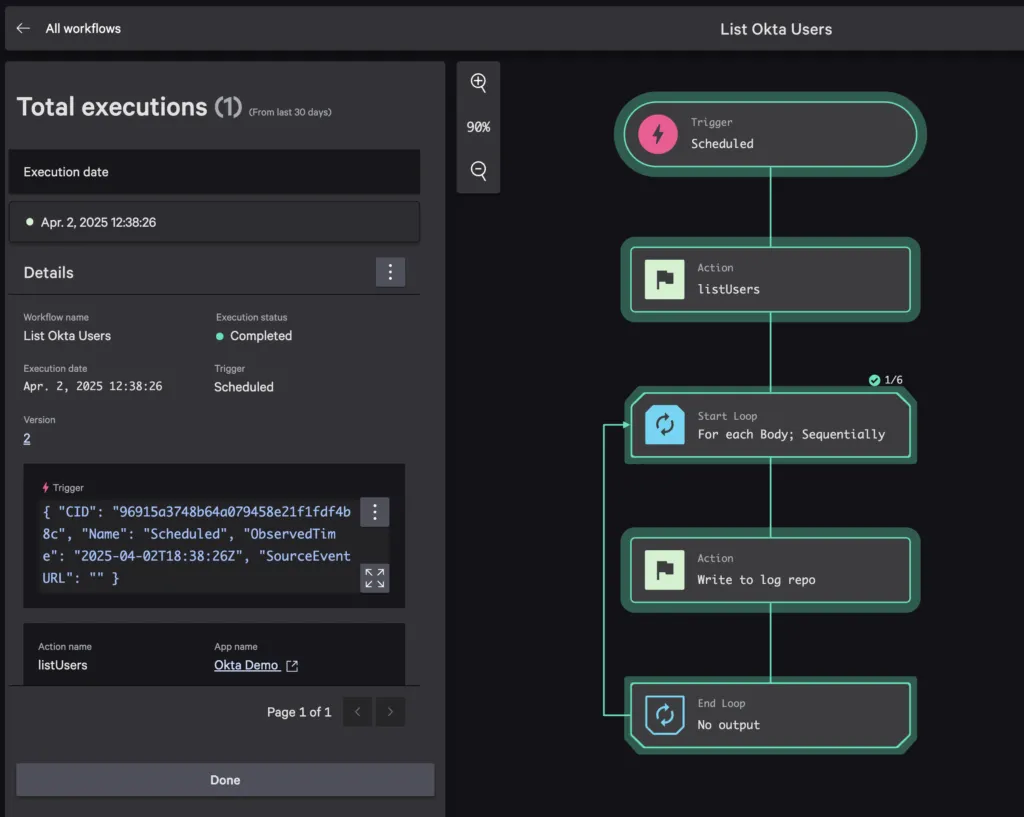
Section titled “Step 5: Create a scheduled workflow”- Click Create workflow.
- Set the trigger to Scheduled (e.g., every hour).
- Add an action using your API integration operation.
- Add a Write to log repo action to ingest the results into a LogScale repository.
- Save and deploy.
Step 6: Create an on-demand workflow
Section titled “Step 6: Create an on-demand workflow”- Create another workflow with an On-demand trigger.
- Add the API operation that performs an action (e.g., deactivate a user).
- Configure the trigger inputs so operators can provide the required parameters when executing.
Step 7: Deploy and release
Section titled “Step 7: Deploy and release”- Click Deploy in the App Builder.
- After deployment succeeds, click Release.
- Install the app from the App Catalog.
Result
Section titled “Result”Your custom SOAR actions are now available in the Fusion SOAR workflow builder for all users. The scheduled workflow automatically fetches data on your configured interval and ingests it into LogScale. The on-demand workflow allows operators to trigger actions when needed.
Next steps
Section titled “Next steps”- Add collections for persistent state management
- Build a dashboard to visualize the ingested data
- Publish your app to the App Catalog for other CrowdStrike customers